
Page Tiles Assemble a tiled poster
How to Assemble a Tiled Poster
A tiled poster goes together in rows. Trim one edge of each overlap, lay it over its neighbour, line up the marks, and fix it from the back. Here is the order that keeps the joins straight.
What you need
- A clear table or floor bigger than the poster
- A craft knife, a metal ruler and a cutting mat, or sharp scissors
- A glue stick, or clear tape for the back
- For a big poster: a long straight edge to check rows stay square
Know your marks
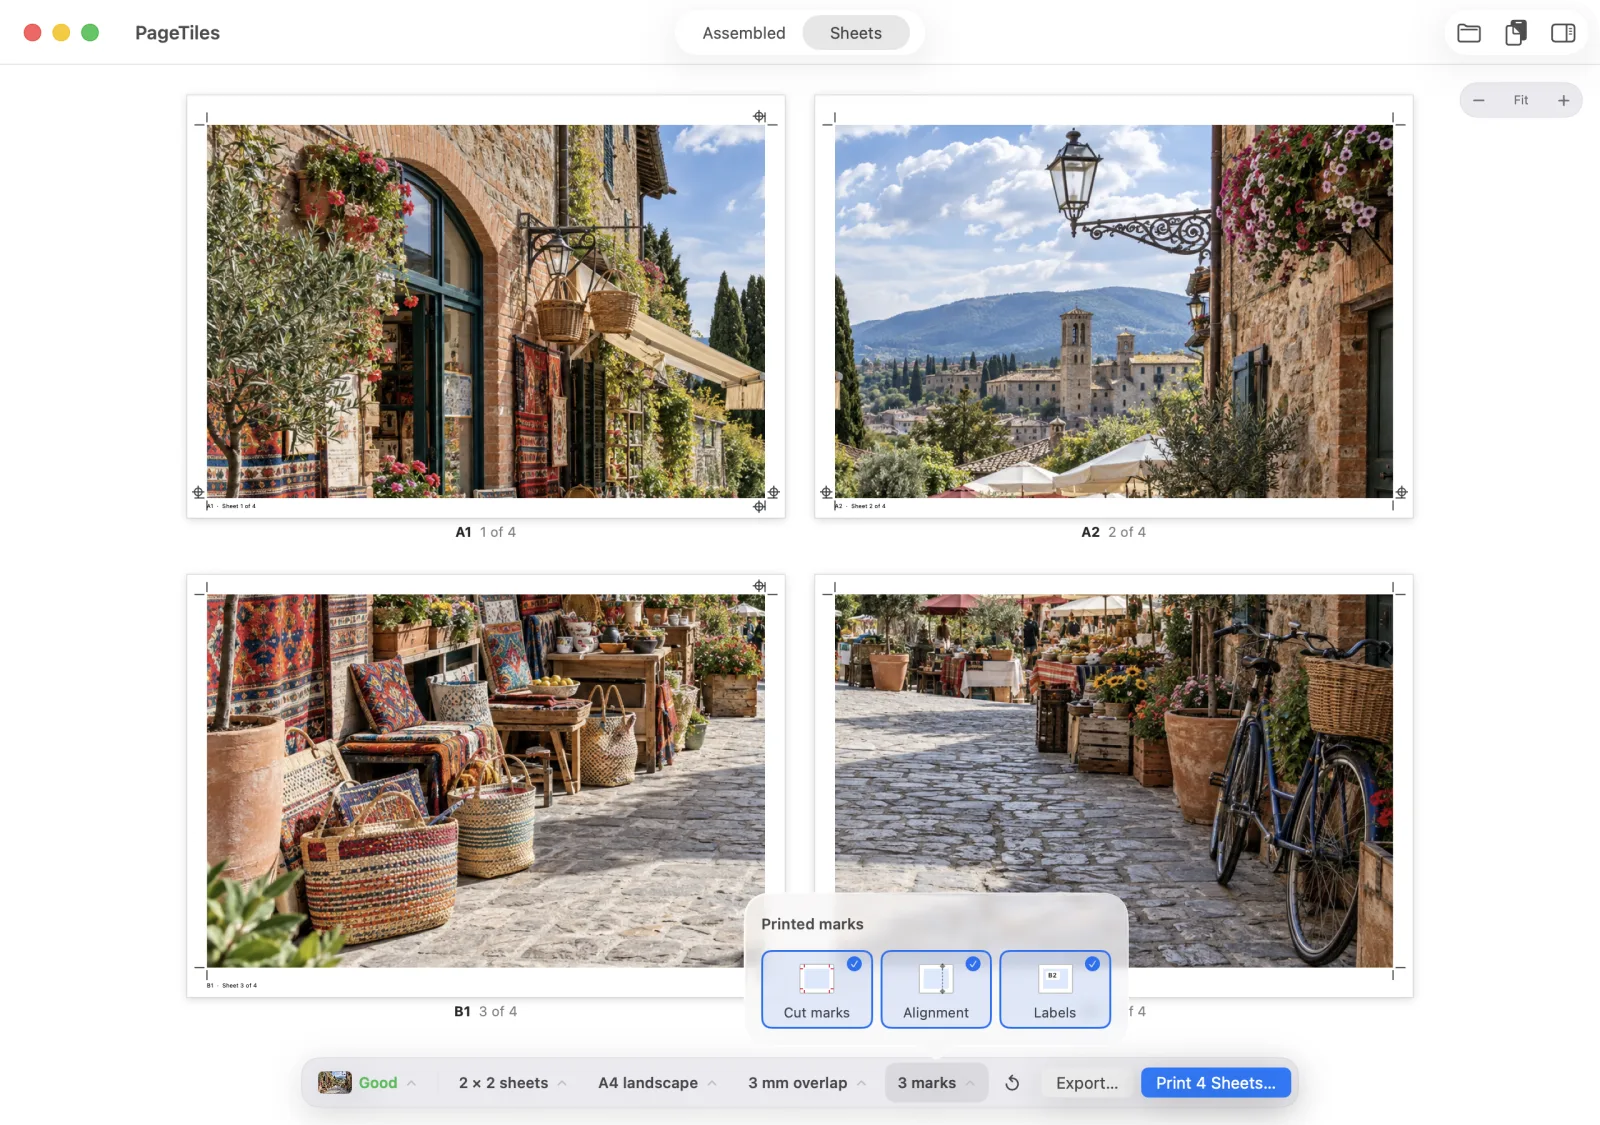
Page Tiles can print three kinds of marks. Turn them on under Printed marks.
- Labels print in the margin, for example B2 · Sheet 5 of 9. The letter is the row from the top, the number the column from the left.
- Cut marks are short lines at the corners of the picture on each sheet. They show where the picture’s edge is, so you trim along a line between them.
- Alignment marks are small targets at each end of a seam, in the margin. When two sheets overlap properly, their targets sit on top of each other. They need an overlap to work.
Step by step
- Lay the sheets out in label order. Row A across the top from A1, then row B underneath, and so on. Check nothing is missing or upside down before cutting anything.
- Trim the overlapping edges. For each seam, the sheet to the right or below goes on top. Cut its left edge (or top edge) along the cut marks. Leave the other sheet’s overlap strip alone: it goes underneath.
- Join row A first. Lay A2’s trimmed edge over A1’s overlap strip. Line the picture up by eye, then check the alignment targets. Glue or tape. Repeat along the row.
- Build each row the same way. Rows are easier to keep straight than a whole grid at once.
- Join the rows. Lay row B’s trimmed top edge over row A’s overlap, match the targets at each seam, and fix it. Work from the middle out so any small error spreads to the edges.
- Trim the outside if you want a clean border.
Tips for a cleaner result
- Use overlap. 5 to 10 mm gives room to hide a slightly wobbly cut. With no overlap, every edge has to be perfect.
- Cut all the edges first, then glue. It’s faster, and you won’t smear glue while cutting.
- Light behind helps. Holding two overlapping sheets up to a window shows whether the picture lines up.
- Mount big posters. Foam board or a sheet of card keeps a 16-sheet poster flat and lets you move it in one piece.
- Reprint, don’t patch. A crooked or smudged sheet is cheaper to reprint than to fix. Click the sheet in the preview and choose Print Only for it.
Questions
Which sheet goes on top at a seam?
With Page Tiles marks, trim the sheet to the right or below along its cut marks and lay it over the other sheet’s overlap strip. Anything printed in that strip ends up covered, so the join lands on matching picture.
Glue or tape?
Glue stick for posters that stay up: it lies flat and doesn’t reflect light. Tape on the back for patterns and plans you’ll fold away later. Avoid wet glue, which wrinkles the paper.