Page Tiles Classroom posters
Print Classroom Posters on Multiple Pages
A 3 × 3 grid turns an A4 printer into a display about 81 × 55 cm. Sheet labels keep the nine pages in order for maps, timelines, anchor charts and student work.
What works well
- Maps. Download a map as a PDF where possible: a map drawn as a PDF stays sharp at any size, a scanned one doesn’t. A 3 × 3 sheet map on A4 is about 81 × 55 cm in landscape.
- Timelines. A single row of landscape sheets makes a long strip. See banners for lengths.
- Anchor charts and diagrams. Draw on a slide, export as PDF, print 2 × 2 or 3 × 3.
- Student work. Blow up a drawing or a photo of a project for a display.
Pick a useful grid
A 2 × 2 grid makes a chart about the size of A2. A 3 × 3 or 4 × 3 grid works better for a wall. Keep labels on, especially if several people will trim and assemble different rows.
Print one test seam on the school printer before sending the full job. Pin up one sheet at the intended distance as well; it is a quicker test of text size than relying on a formula. PDFs exported from Keynote, PowerPoint or Google Slides keep their text and diagrams sharp. Photos show a quality grade in Page Tiles.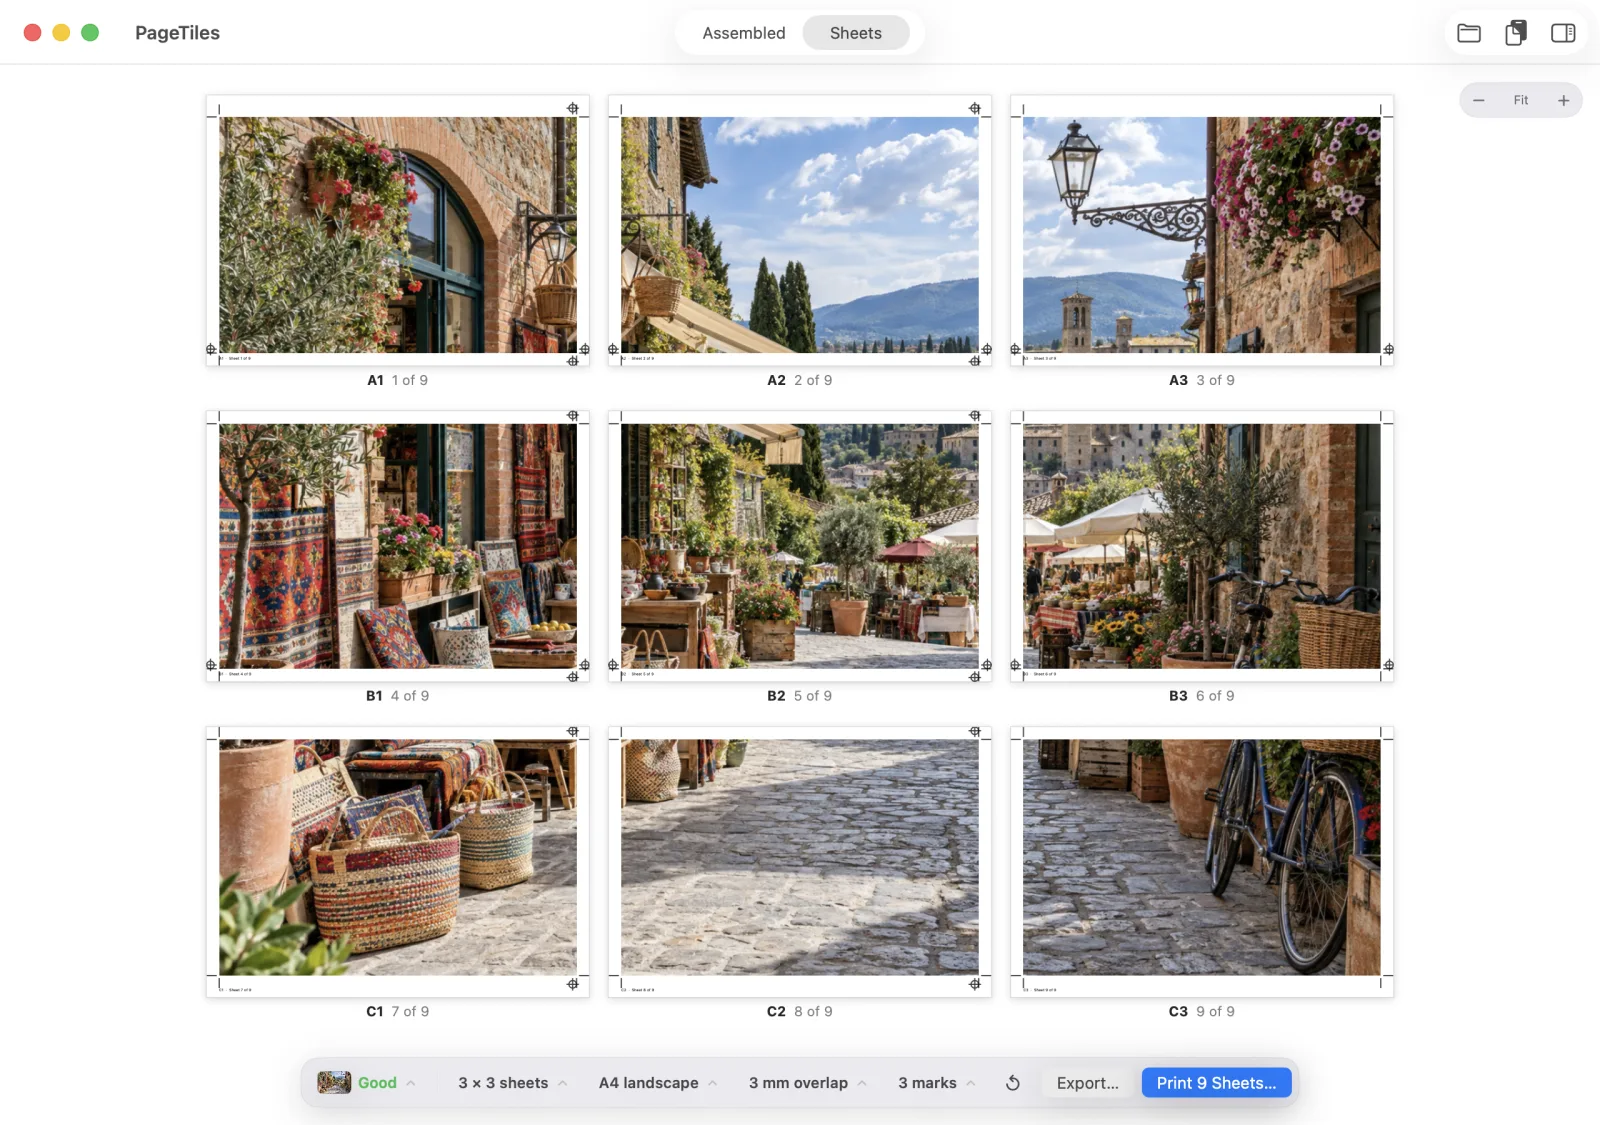
Make it last
Laminate sheets before joining them, not after: laminating a 9-sheet poster in one piece needs a big laminator. Join laminated sheets with clear tape on the front along the overlap. Or glue the sheets onto a sheet of card or foam board for a poster that can move between rooms.